Android Installation
Installing on an Android device
The Mobile Data Anywhere client application for Android is a free app available through the Play Store. It is compatible with Android devices running Gingerbread 2.3 and later.
If you view this page on your Android device you can simply click the link below to go to the Play Store page to download the app.
Install App from the Google Play Store
Alternatively, you can find the app in the Google Play Store by searching for Mobile Data Anywhere
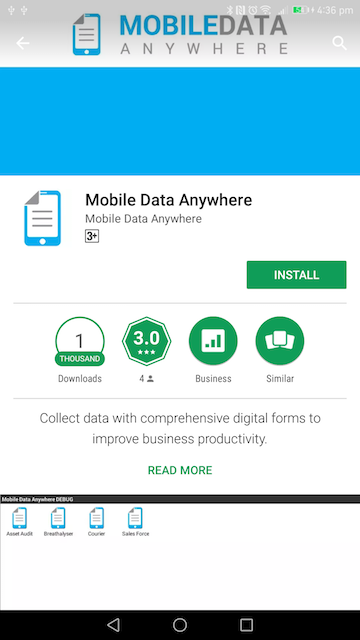
Press the Install button.
Once installed you can open the app using the app drawer or from the home screens. The app's icon is shown below:
![]()
Tap on the icon to open the app.
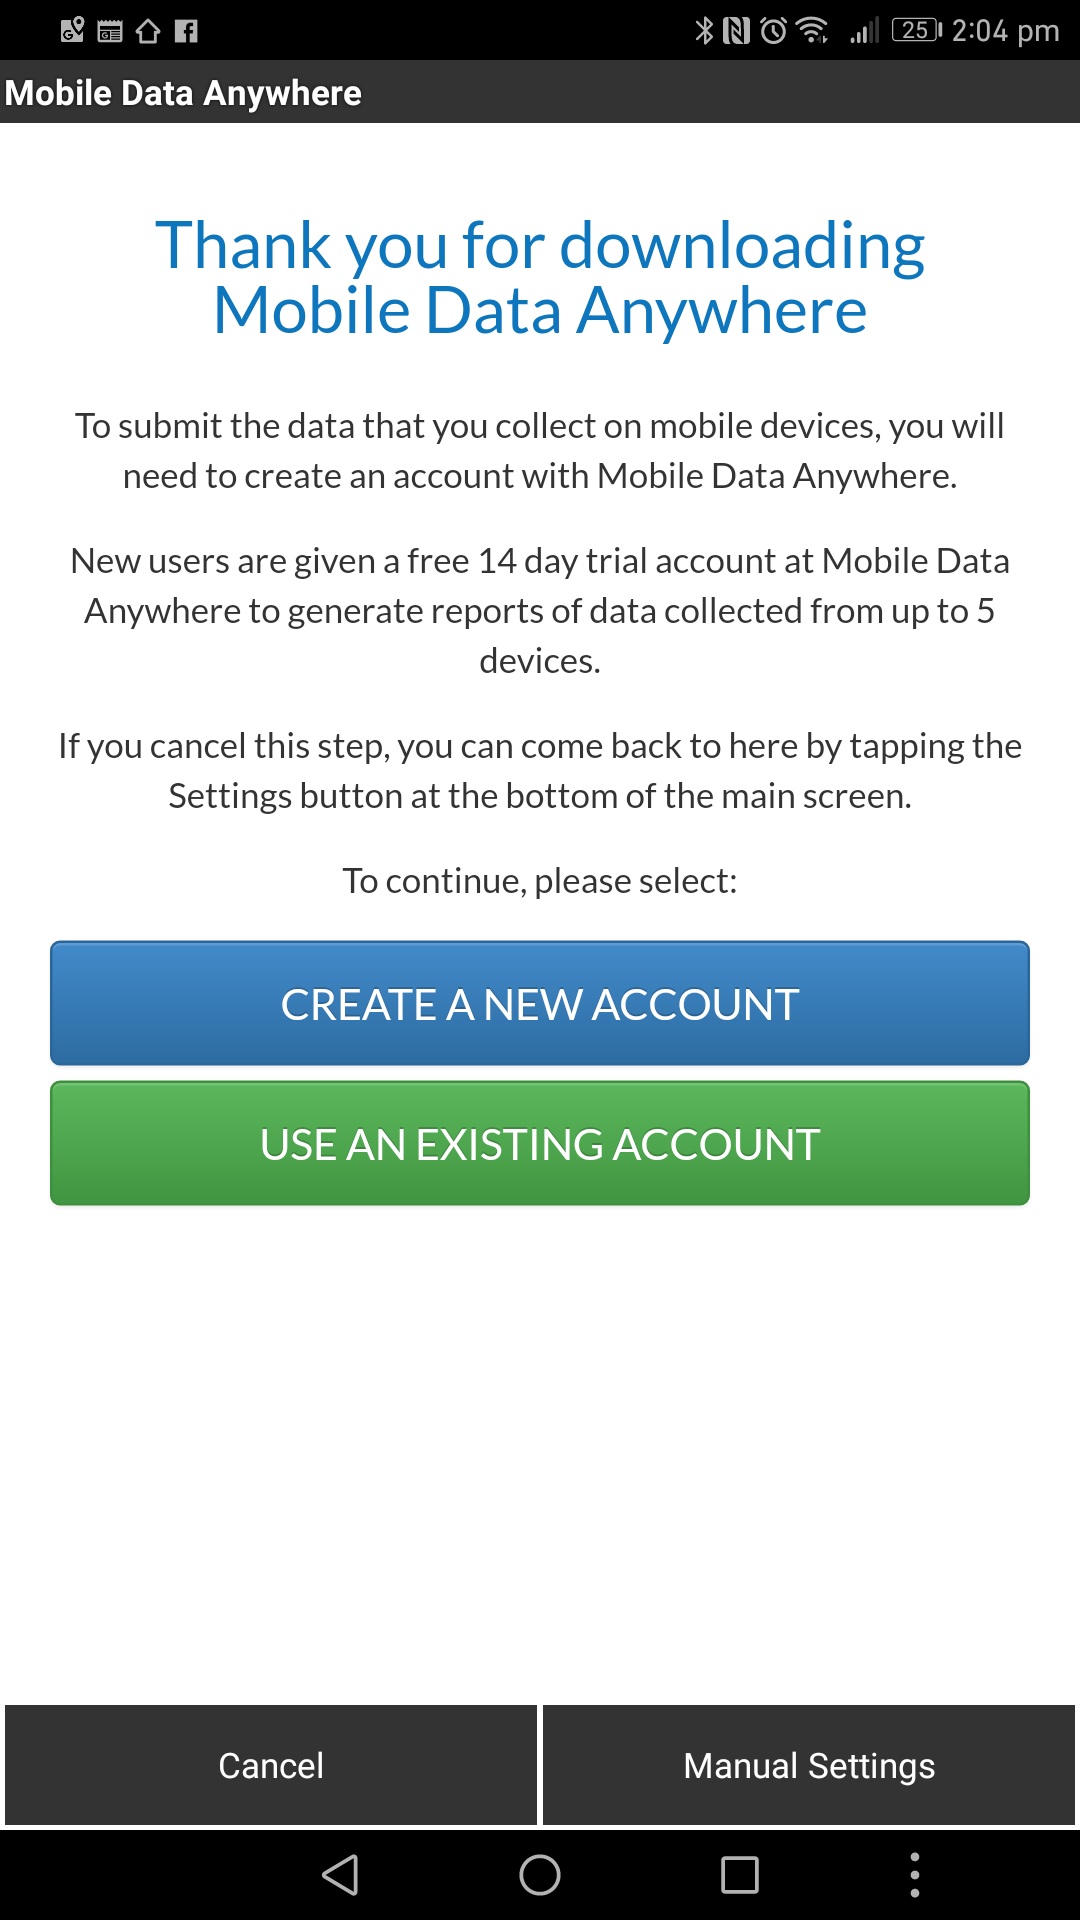
Once the app is launched you will see the following welcome screen.
Connecting the device to Mobile Data Anywhere
Once installed, the Mobile Data Anywhere icon will appear on the home screen. To configure the app so that this device is connected to your Mobile Data Anywhere account, see the guide for Setting up a new device .
Installation of Projects to Android Device
Projects developed in Mobile Data Anywhere Designer are uploaded to Mobile Data Anywhere and then deployed to your registered devices. Ensure the Android device is first registered and can connect to Mobile Data Anywhere. Then under Control-Panel -> Deploy Projects you can select which projects should be deployed to any or all of your registered devices. If a device is not currently connected, the project will be deployed to the device when it next connects.
Use on Android Devices
The Mobile Data Anywhere icons of installed projects are shown in the Project Window . Below are shown example projects provided in C:\Program Files (x86)\Mobile Data Studio\Examples\ or C:\Program Files\Mobile Data Studio\Examples\; install the examples to test the system, they can be deleted afterwards. Click on a project icon to open a session; initially the Session Window will be blank, tap the ' New Session ' button to open a session, open sessions for the example Courier and Asset Audit projects are shown below.

When sessions are finished or saved they appear in the Session Window awaiting further management, either via the Session Menu at the bottom of the screen (shown via device menu control), or by activation of Selection Mode which enables selection of a specific session and display of menu for managememt of the session. These controls apply both to sessions filled on the Android device and to sessions sent to the Android client device by Mobile Data Anywhere. Sessions that have arrived from Mobile Data Anywhere are shown in red. Marked sessions can be sent to Mobile Data Anywhere individually or in a batch; they are shown in green, which may appear as gold on some devices. The Duplicate function applies to individual selected sessions, providing a convenient duplicate of data, but as a unique new session.
Please NOTE that (1) not all of the points and point functions applying in Windows Mobile are supported in Android; exceptions are identified on pages describing Adding Point Functions ; and (2) the database in the Android operating system has a limit of approximately 1.5 megabytes (1.5MB; 1,500KB) of data per session of a project. This should not be limiting in most applications; however, care should be taken in regard to the number of Camera point images collected in each session.
Create powerful mobile forms for your business in minutes